# How to Use the Valuations Screen
The **Valuations** screen in Molecule provides a way to create and save customized views for portfolio reporting, allowing users to tailor their data views of their positions and P\&L. This data can be transformed into a customized view through selection, grouping, pivoting, sorting, filtering, and aggregation. You can create and save multiple views, complete with a full selection of preferences available every time you visit our app.
This article focuses on creating, filtering, exporting and management of custom views.
The **VALUATIONS** screen is Molecule's in-app reporting tool powered by Molecule's REST API, documented [here](https://developer.molecule.io/password?redirect=/reference/valuations-1).
#### Creating a View
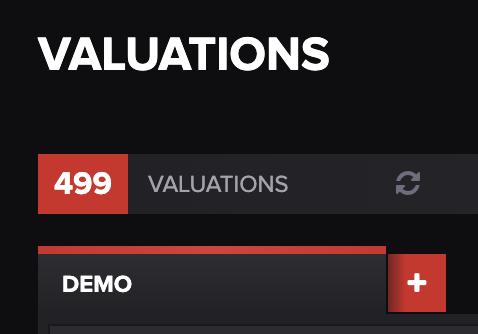
First, go to the **VALUATIONS** screen on the left-hand side menu.
Then, click the **+** button to the right of any existing view tabs. Enter a name for the view in the text box, then press enter or the check mark.
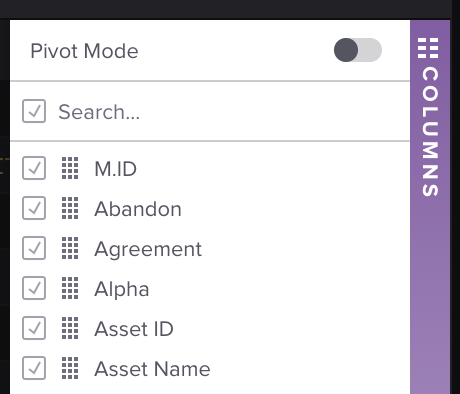
Next, choose the columns your like to include by clicking the purple **COLUMNS** bar on the right side of the screen to expand the column options. You can choose the columns you'd like to include in your view by scrolling or using our search feature.
Your selections will save automatically. As you create multiple views, they are displayed in tabs on the page.
#### Refreshing a View
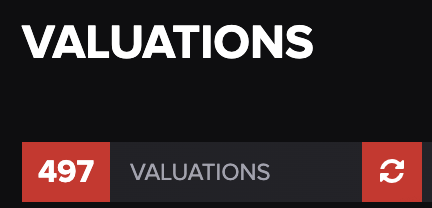
To refresh a view, press the refresh button towards the top of the **VALUATIONS** screen.
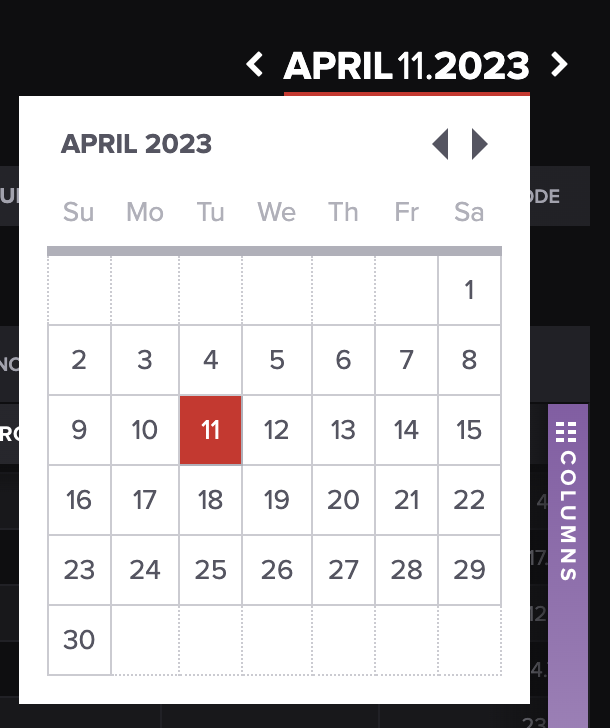
Or, you can press on the date at the top right of the screen and update the reporting date.
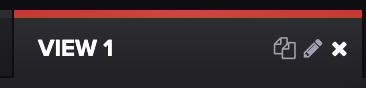
#### Cloning a View
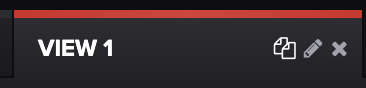
To clone a view, hover over active view and press the copy icon next to the pencil, as shown below:
#### Renaming a View
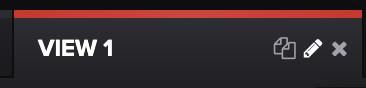
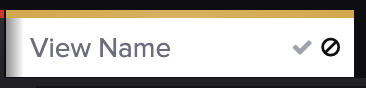
To rename a view, hover over the active view and press the pencil icon next to the clone icon, as shown below. Type in the new name of your view, then press enter or the green check mark.
#### Deleting a View
To delete a view before it's been saved, press the omit icon next to the check mark. To delete a view once it's been saved, hover on the active view box and press the **x.**
#### Exporting View Rows
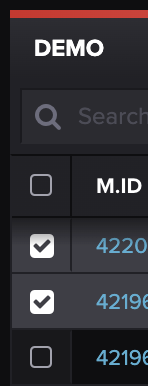
**Select Rows -** You can export selected rows by checking the boxes of the rows you'd like to export on the far left of the table. Once you've selected the rows you'd like to export, press the **EXPORT SELECTED ROWS** in the top right-hand corner.
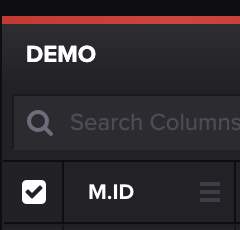
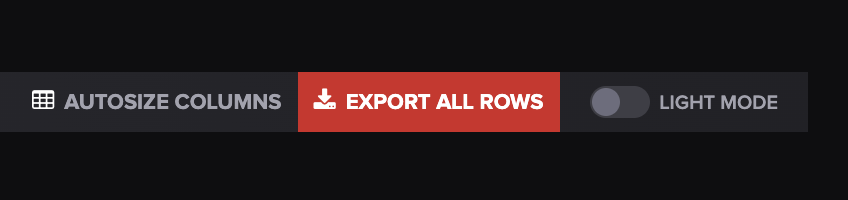
**All Rows:** To export all rows, you can check the box next to the **M.ID** column and then select **EXPORT SELECTED ROWS**, as shown above. Or, you don't have to check any boxes and can just select **EXPORT ALL ROWS** in the top right of the screen.
Rows will be exported in an Excel spreadsheet.
That's it! We hope this will save you some time. If you have any questions, please let us know at .
See related: [How to Pivot and Group on the Valuations Screen](/core-functionality/core-features/specialized-features/trades/valuations-screen/how-to-pivot-and-group-on-the-valuations-screen.md)
---
# Agent Instructions: Querying This Documentation
If you need additional information that is not directly available in this page, you can query the documentation dynamically by asking a question.
Perform an HTTP GET request on the current page URL with the `ask` query parameter:
```
GET https://help.molecule.io/core-functionality/core-features/specialized-features/trades/valuations-screen/how-to-use-the-valuations-screen.md?ask=
```
The question should be specific, self-contained, and written in natural language.
The response will contain a direct answer to the question and relevant excerpts and sources from the documentation.
Use this mechanism when the answer is not explicitly present in the current page, you need clarification or additional context, or you want to retrieve related documentation sections.