

How to Use the Valuations Screen
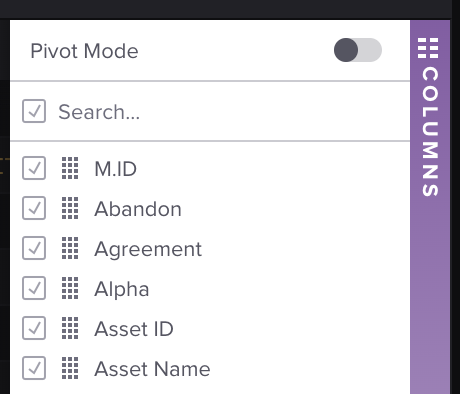
The Valuations screen in Molecule provides a way to create and save customized views for portfolio reporting, allowing users to tailor their data views of their positions and P&L. This data can be transformed into a customized view through selection, grouping, pivoting, sorting, filtering, and aggregation. You can create and save multiple views, complete with a full selection of preferences available every time you visit our app.
This article focuses on creating, filtering, exporting, and managing custom views.
The VALUATIONS screen is Molecule's in-app reporting tool powered by Molecule's REST API, documented here: https://developer.molecule.io/password?redirect=/reference/valuations-1
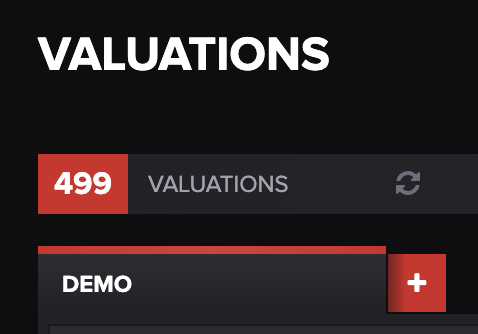
Creating a View

Refreshing a View
Press the refresh button towards the top of the VALUATIONS screen.

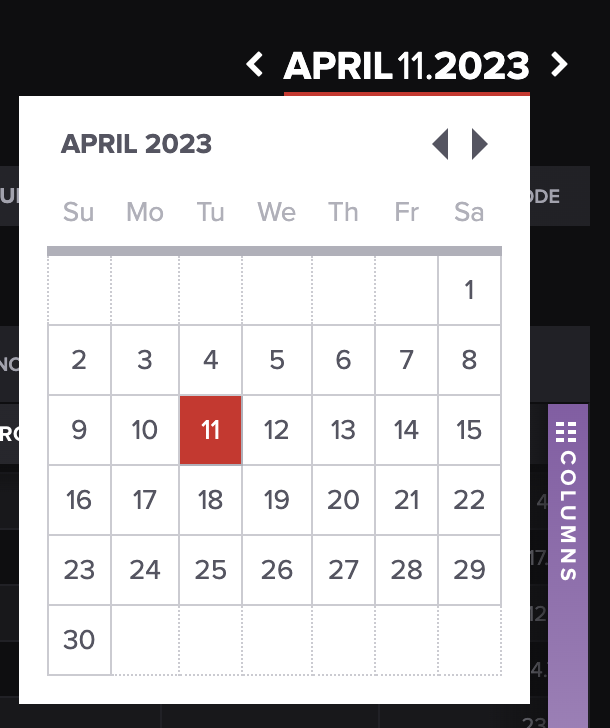
Or press the date at the top right of the screen and update the reporting date.
Cloning, Renaming, and Deleting Views
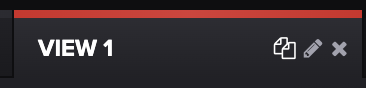
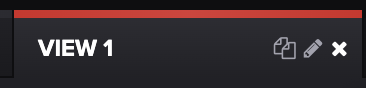
Cloning: Hover over the active view and press the copy icon next to the pencil.
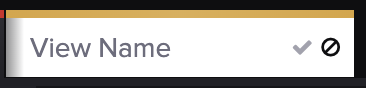
Renaming: Hover over the active view and press the pencil icon, type the new name, then press Enter or the green check mark.
Deleting:
To delete a view before it's been saved, press the omit icon next to the check mark.
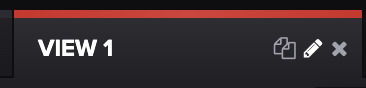
To delete a view once it's been saved, hover on the active view box and press the X.
Exporting View Rows
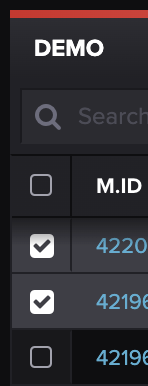
You can export either selected rows or all rows to an Excel spreadsheet.

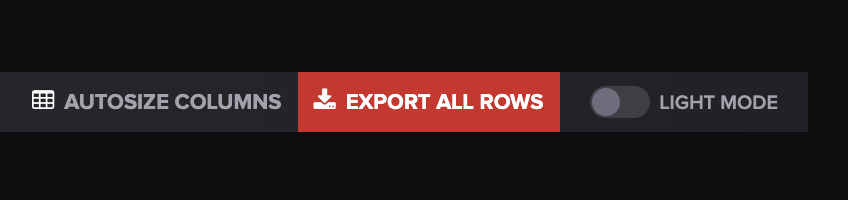
Rows will be exported in an Excel spreadsheet.
If you have any questions, please let us know at [email protected].
Related articles
Last updated
Was this helpful?