5 Things you Can Do on the Trades Screen
Here's a quick guide to tailoring columns and saving views on the TRADES screen, allowing you to focus on the information that matters most to you.
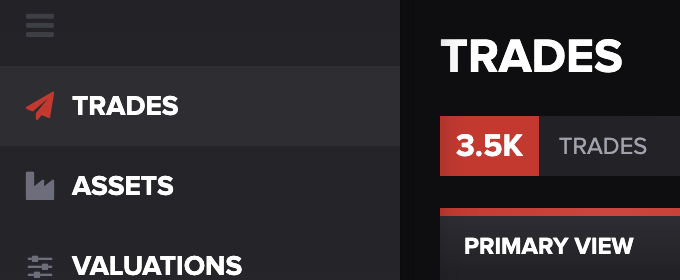
After launching the app, you'll land directly on the TRADES screen. Also, you can access this screen any time by selecting TRADES from the navigation menu on the left side of the screen.
You can any do any of the following to organize the table to best suit your needs.
1. Filter Trades
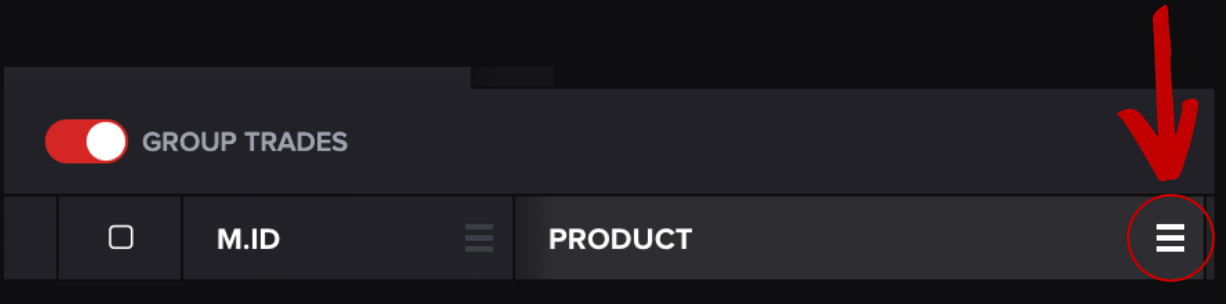
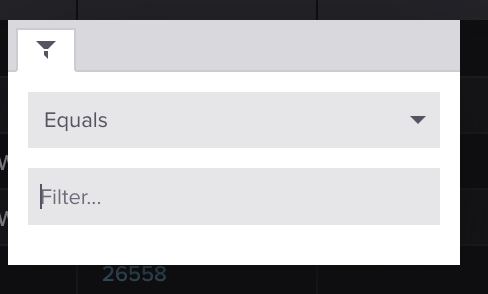
To filter trades, click on the three horizontal lines located in the right-hand corner of any column header you wish to filter. A dialog box appears.
Choose Equals or Contains from the drop-down and enter your filter criteria into the text field.
Once you've added a filter, the screen will display the filtered results.
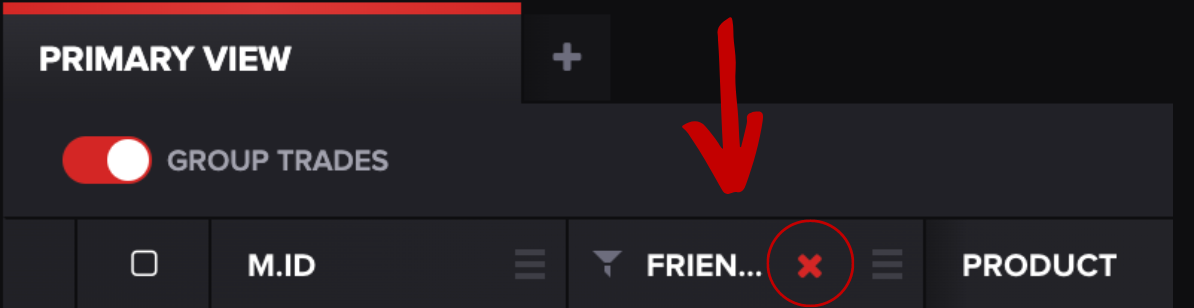
To delete the filter, press the red X on the left-hand side of the column.
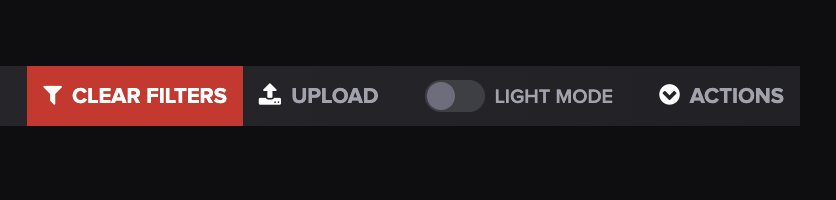
To delete all filters, you can press CLEAR FILTERS at the top right-hand side of the screen.
💡 Tip: If you're having trouble finding specific trades, double-check that no filters are active.
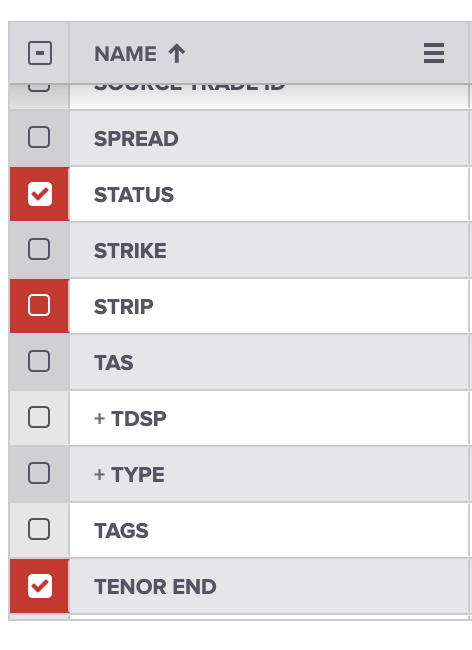
2. Choose Columns
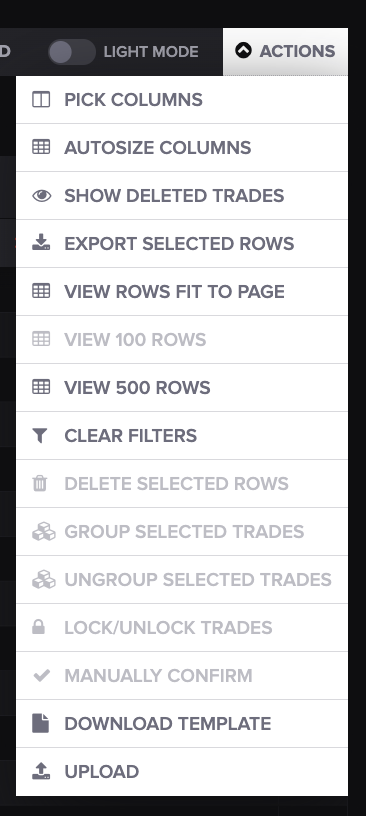
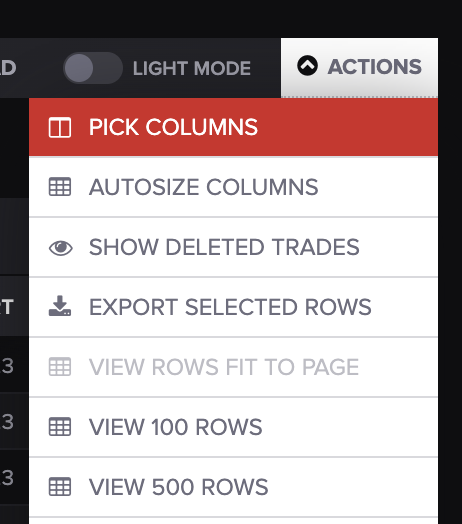
To add or remove columns, select PICK COLUMNS from the ACTIONS drop-down menu.
3. Drag to Move Columns
To move columns, click and hold the three horizontal lines on the right-hand corner of the column header you wish to move.
Drag it to the desired position and release to drop it in place.
4. Sort Trades
Click on the column header of the attribute by which you wish to sort your trades.
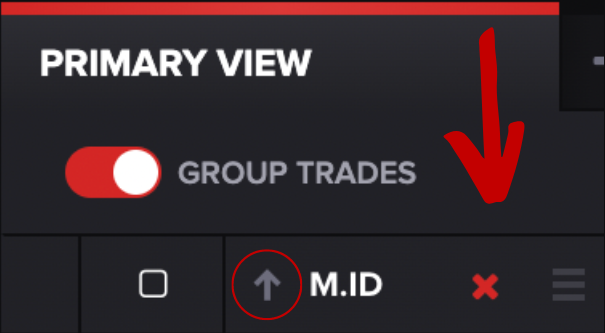
5. Create and Name a Custom View
- Click "+" adjacent to the PRIMARY VIEW tab.
- Click in the View Name box and name your new view.
- Press the checkmark button to save your newly named view.
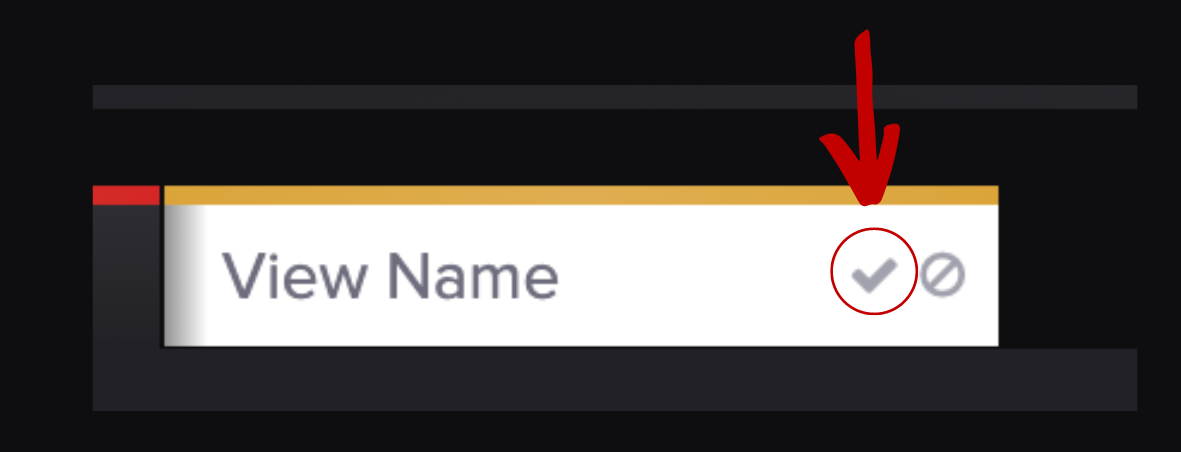
You can change the view name later by clicking on the pencil icon, or clone your view to create a modified version by clicking on the copy icon. To delete a view, button click the divided circle icon, next to the checkmark icon.
💡 Tip: Other actions you can take on this screen are found on the menu bar and by clicking ACTIONS.